Instructions
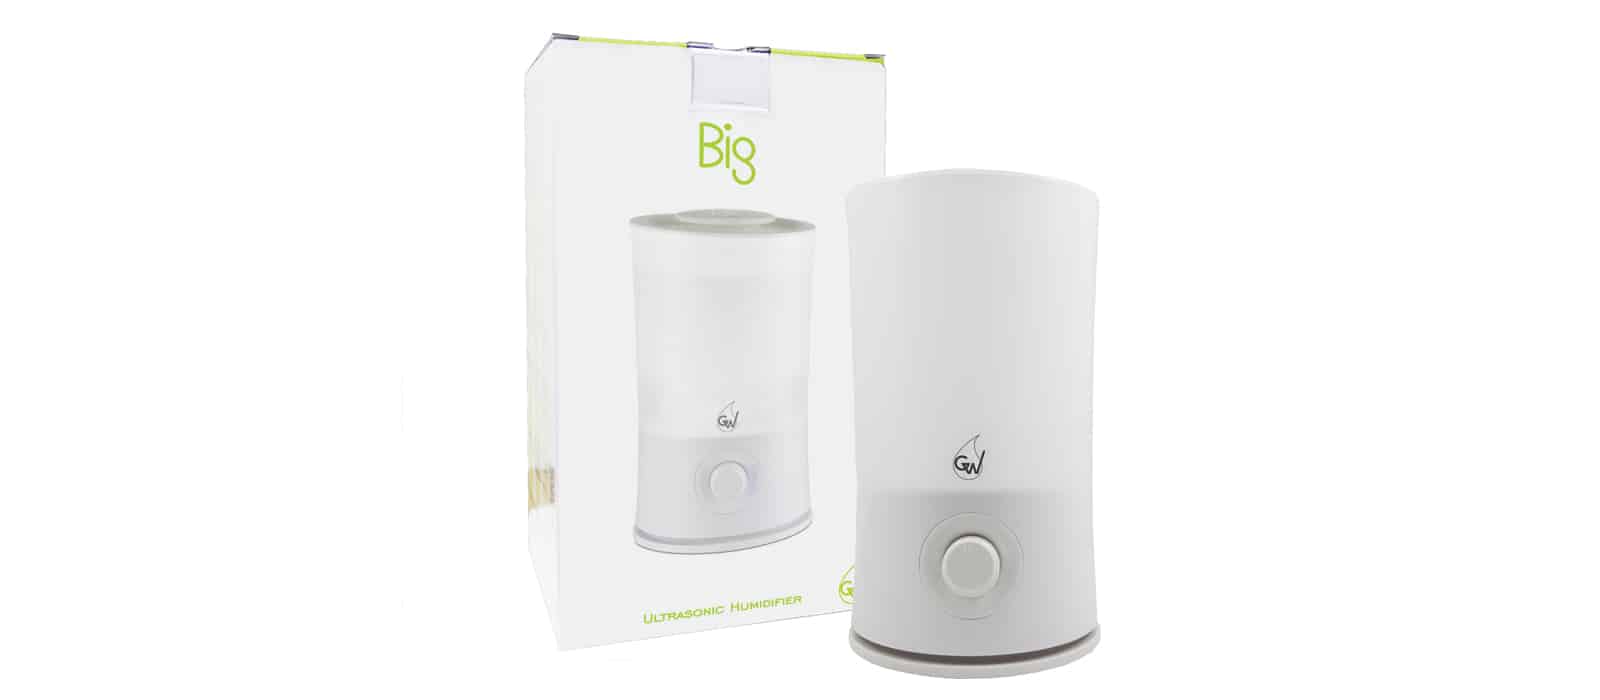
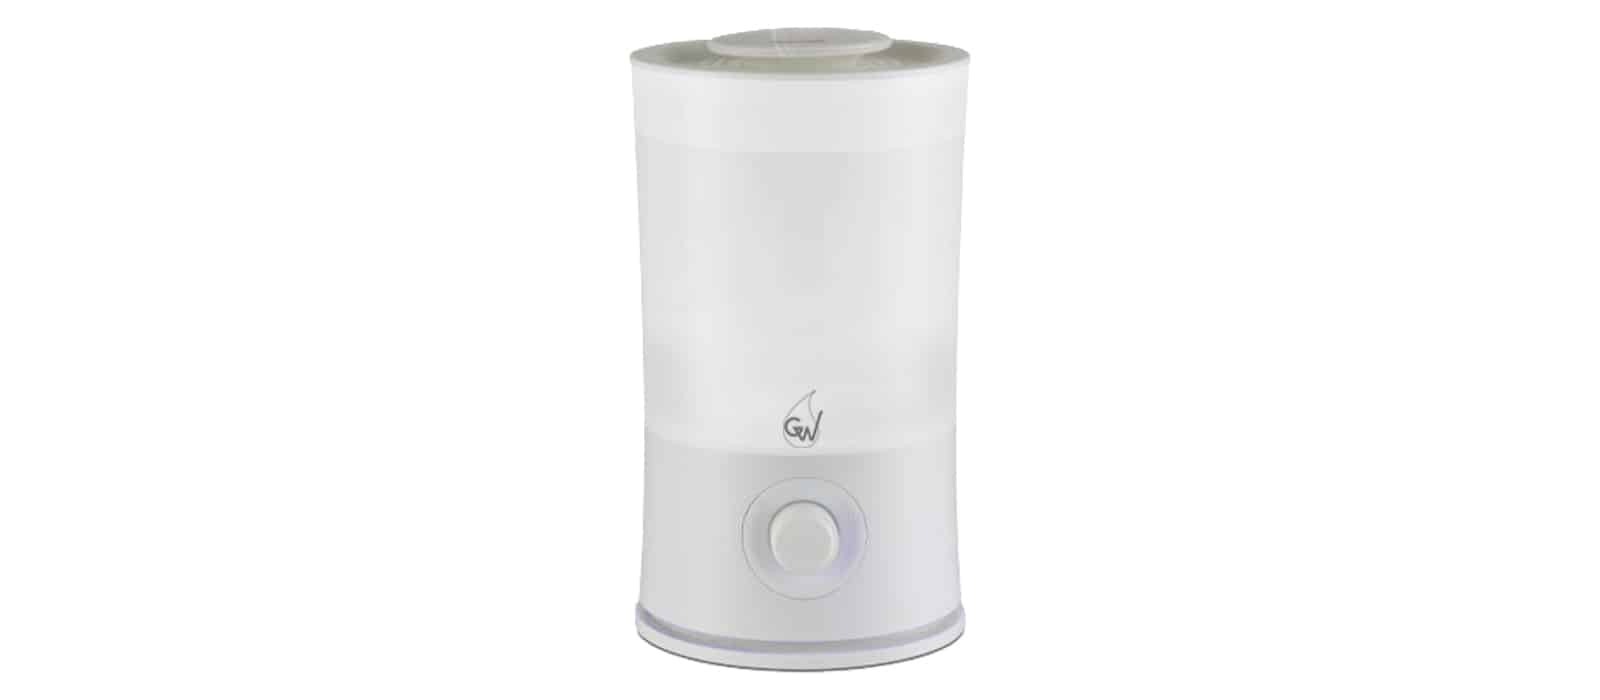
1. Remove the lid from the top of the tank.
2. Fill the tank with tap water. (Do not add water above the maximum line or below the minimum line).
3. Add 6-8 drops of essential oil to the water. You can increase or decrease the oil according to your preferences.
4. Place the lid on top of the water tank.
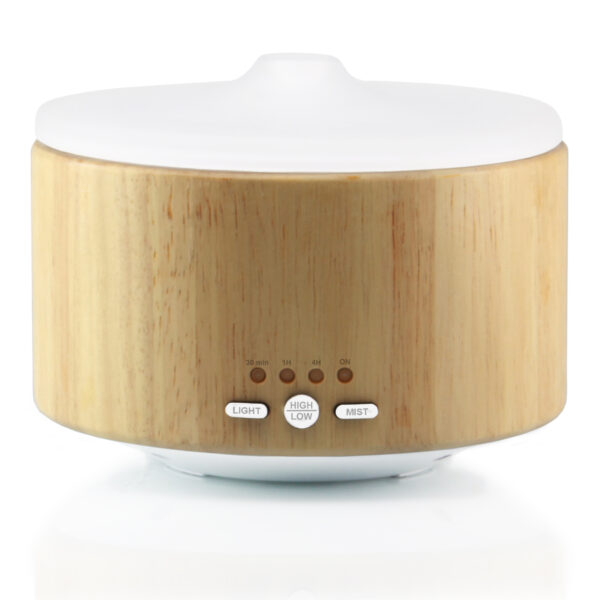
5. Connect and turn on the humidifier by turning the knob at the bottom of the humidifier to the right.
6. You can turn the humidifier lighting on or off using the switch located next to the power cord on the back of the humidifier.
7. You can adjust the steam output by turning the knob
Use and maintenance:
Before cleaning, switch off the appliance and unplug it.
Always unplug the unit before cleaning it. Remove the white plastic energy ring from the water tank.
Remove the addresser from the water tank by turning it counterclockwise.
Any part of the humidifier can be cleaned with a soft damp cloth and dried with a dry cloth.
There may be limescale deposits on the ultrasound, especially if the water in your area is hard. This deposit can reduce the performance of the humidifier; it is therefore recommended to clean it regularly to avoid significant build-up.
Regularly clean the humidifier with a kitchen degreaser:
1. Spray the kitchen degreaser and gently clean the ultrasound until the deposit disappears.
2. Wipe with a dry cloth and remove residue.
3. DO NOT rub the ultrasound with hard or abrasive objects, as this can cause damage.
4. DO NOT clean the humidifier with other chemicals.
Stagnant water that has accumulated over long periods of time can attract bacteria and mold. At each water change, it is recommended to remove dust and any residual limescale on the ultrasound, as described above. Be careful not to get water into the base of the product, as this can cause damage.

